
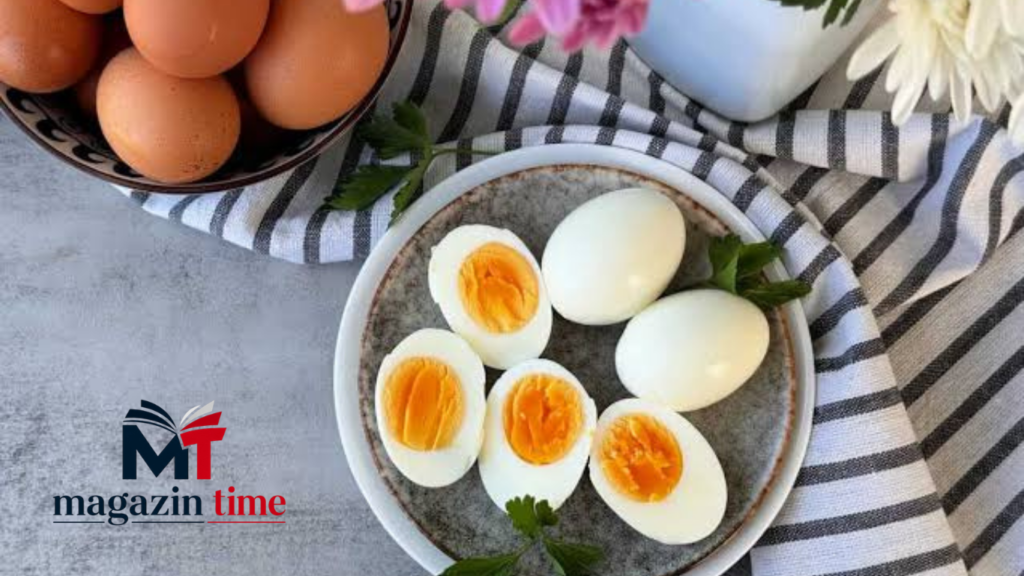

Boiling eggs on the hob is a kitchen classic, but it is not always the most convenient option. When time is short or the stove is occupied, many people wonder whether the microwave can deliver a similar result. Learning how to boil eggs in microwave ovens offers a practical shortcut for soft- or hard-boiled eggs without waiting for a large pan of water to come to the boil.
The method is quick, uses less energy and works well for one or two eggs at a time. It is not without risks, however. Eggs can explode if steam builds up inside the shell, so safety steps are essential. Done correctly, the process produces eggs that peel reasonably well and taste much like their hob-cooked counterparts. This guide walks through reliable techniques drawn from practical testing and advice from food specialists, so you can achieve consistent results at home.
Whether you prefer a runny yolk for soldiers or a firm centre for salads and sandwiches, the microwave can help. The key lies in controlling power levels, using enough water and allowing resting time so the heat distributes evenly.
Safety First: Why Eggs Can Explode
Microwaves heat water molecules rapidly. Inside an intact egg, that moisture turns to steam. If the steam has nowhere to escape, pressure builds until the shell ruptures, often with a loud bang and a messy clean-up. The same risk applies to already-boiled eggs reheated in their shells. Food safety guidance consistently warns against placing whole raw or cooked eggs in the microwave without protective measures.
To reduce the danger:
- Always pierce the wider end of the shell with a clean pin, needle or thumbtack, pushing deep enough to reach the yolk. This creates a vent for steam.
- Fully submerge the eggs in water. The surrounding liquid moderates the temperature and helps prevent hot spots.
- Use medium or 50 per cent power rather than full power. High settings heat too aggressively.
- Never seal the container tightly. Leave a small gap for steam to escape.
- Allow the eggs to rest in the hot water after microwaving. Carry-over cooking finishes the centre gently.
- Cool the eggs promptly in an ice bath once done. This stops further cooking and makes peeling easier.
Even with these precautions, results can vary between microwave models. Start with shorter times and increase gradually. Always use microwave-safe glass or ceramic containers. Avoid metal and thin plastics.
Equipment and Ingredients You Will Need
You need very little:
- One or two large eggs, ideally fridge-cold
- A microwave-safe bowl, mug or measuring jug deep enough to cover the eggs by at least 2.5 cm of water
- Cold or hot water
- A pinch or half-teaspoon of salt per egg (helps reduce cracking)
- A pin or needle for piercing
- A microwave-safe plate or lid for loose covering
- A bowl of iced water for cooling
Optional extras include a splash of vinegar if you prefer a poached-style texture, though it is not essential for boiled eggs.
Step-by-Step Method for Soft-Boiled Eggs
For a soft-boiled egg with a set white and runny or jammy yolk, follow these steps carefully.
- Pierce the wider end of each cold egg deeply enough to reach the yolk.
- Place the egg(s) in the microwave-safe container. Cover completely with cold water, leaving at least 2.5 cm above the top of the eggs. Stir in salt.
- Cover loosely with a microwave-safe plate, leaving a small gap.
- Microwave on 50 per cent power for approximately 3–4 minutes for one egg. For two eggs, start with 4–5 minutes. Times vary with wattage, so check your appliance.
- Leave the eggs to sit in the hot water inside the closed microwave for 2–3 minutes.
- Carefully remove the container (it will be hot). Transfer the eggs with a spoon into a bowl of iced water for 1–2 minutes if you want to stop the cooking quickly, or serve immediately for a warmer result.
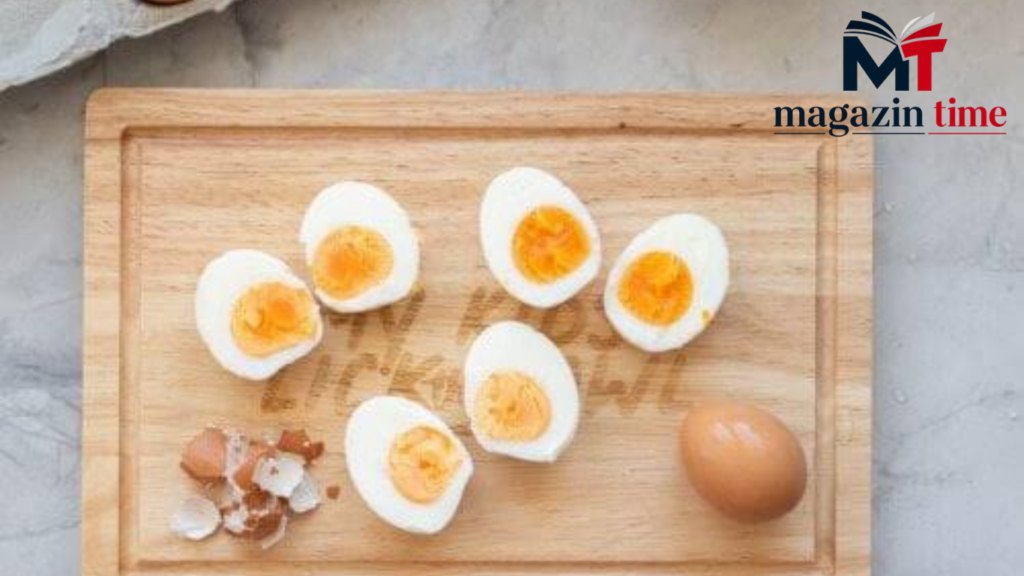
The white should be firm while the yolk remains soft. If the white is still translucent, return the eggs to the water for another 20–30 seconds on medium power.
How to Boil Eggs in Microwave for Hard-Boiled Results
Hard-boiled eggs need longer cooking and resting so the yolk sets fully without becoming dry or developing a greenish ring.
- Prepare the eggs exactly as above: pierce, submerge in salted water and cover loosely.
- Microwave on 50 per cent power for 4–5 minutes for one egg, or 5–6 minutes for two.
- Allow the eggs to rest in the hot water for 4–6 minutes. Residual heat completes the cooking of the centre.
- Transfer to an ice bath for at least 5 minutes. This firms the white, eases peeling and prevents overcooking.
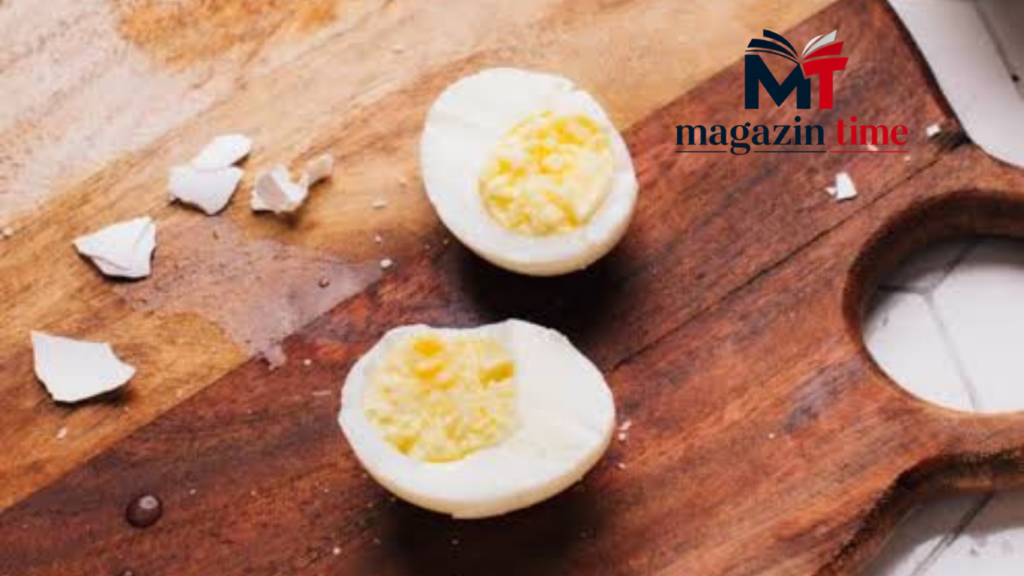
Once cool, tap the shell all over, roll gently on a hard surface and peel under a thin stream of cold water. The shell should come away more readily than with some hob methods.
If the yolk is still slightly soft after cooling, return the egg (still in shell, submerged) for another 30–60 seconds on medium power, then rest and chill again.
Adjusting for Different Microwave Power Levels
Microwaves range widely in wattage. A 700-watt model will need longer times than a 1000-watt one. As a rough guide, begin at the lower end of the suggested times and increase in short bursts. Always pause to check. Cooking in stages with resting periods produces more even results than a single long blast.
For larger batches, cook no more than two or three eggs at once for the most reliable texture. More eggs require extra water and time, increasing the chance of uneven heating.
Tips for Better Texture and Easier Peeling
- Start with eggs that are a few days old rather than ultra-fresh. Slightly older eggs peel more easily.
- Cold eggs from the fridge work well and reduce the risk of cracking compared with room-temperature ones in some methods.
- Salt in the water helps the proteins set more evenly and may reduce the chance of shell fractures.
- An ice bath is highly effective. The sudden temperature change contracts the white away from the shell.
- If you plan to use the eggs for egg mayonnaise or salads, cool them thoroughly before peeling and chopping.
- Store peeled hard-boiled eggs in the refrigerator and use within a couple of days.
Common Mistakes and How to Avoid Them
The most frequent error is using full power without piercing or sufficient water. This almost guarantees an explosion. Another is removing the eggs immediately without resting; the centres remain undercooked while the outsides overcook. Overcrowding the bowl also leads to uneven results.
Never attempt to microwave an egg in its shell without water and a vent. Even peeled hard-boiled eggs can burst if reheated aggressively because superheated pockets of moisture remain inside. Slice or pierce them first if reheating is necessary.
Alternative Microwave Egg Methods
If boiling in the shell feels too risky, crack the egg into a ramekin of water with a splash of vinegar, pierce the yolk, cover loosely and microwave on medium power for 45–60 seconds for a poached-style result. Scrambled eggs are even simpler: whisk eggs with a little milk in a mug, microwave in 30-second bursts, stirring between each.
These approaches eliminate shell-related pressure issues entirely while still delivering a quick cooked egg.
Why This Method Remains Useful
Learning how to boil eggs in microwave form is especially handy for small households, student kitchens, offices with limited facilities or anyone who wants a single soft-boiled egg without heating a full pan. It uses less water and energy than the conventional method and frees the hob for other cooking. With practice, the results become consistent and the process takes less than ten minutes from start to finish, including resting and cooling.
The technique rewards attention to detail rather than speed. Once you know your microwave’s behaviour, you can produce eggs suited to breakfast, packed lunches or quick salads with minimal fuss.
Conclusion
Mastering how to boil eggs in microwave ovens gives you a reliable, low-effort option for soft- or hard-boiled eggs when time or equipment is limited. By piercing the shell, submerging the eggs in salted water, using medium power and allowing proper resting and cooling, you greatly reduce the risk of explosions while achieving a pleasant texture. Results will vary slightly between appliances, so treat the times as a starting point and adjust to suit your machine.